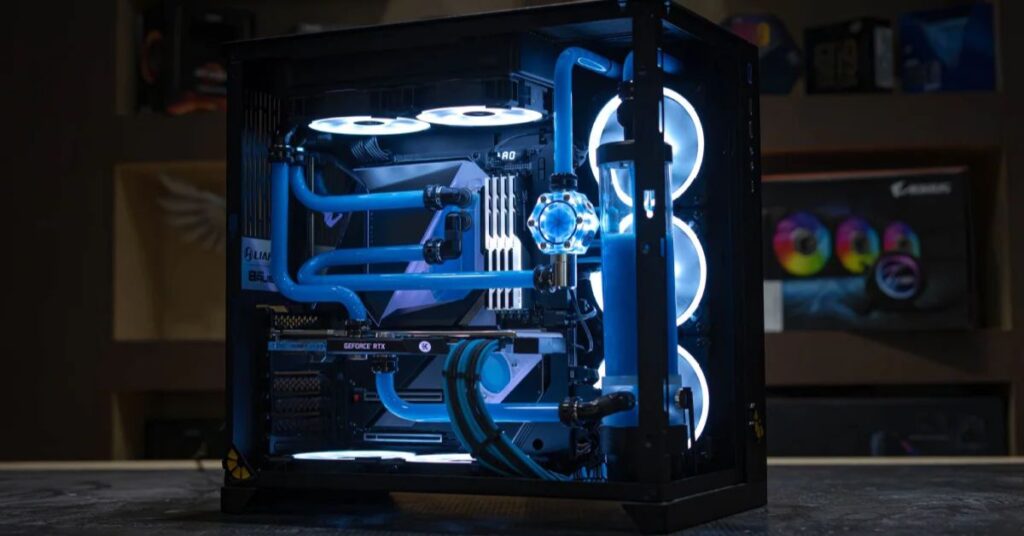
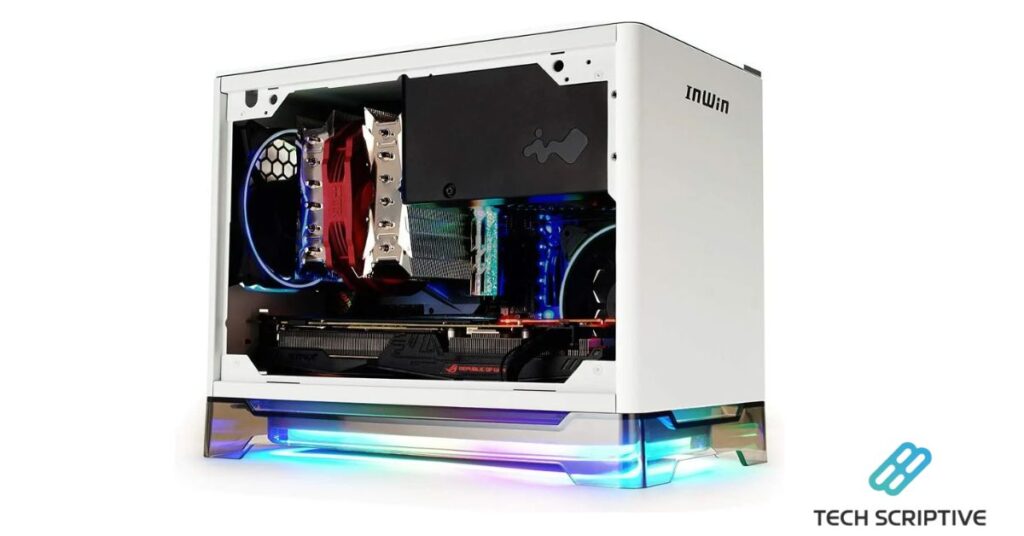
When your computer struggles to keep up with your gaming demands, it’s time to explore building your gaming PC. Dive into the realm of customization and create a gaming rig tailored to your exact preferences. With a DIY approach, you can optimize performance and unlock endless possibilities for personalization.
Building a gaming computer empowers you to take control of your gaming experience. From choosing the components to assembling them, every step is an opportunity to craft a setup that reflects your unique style and gaming needs. Don’t settle for off-the-shelf solutions – build your gaming PC and embark on a journey of creativity and performance.
Performance and costs are directly related
Crafting a gaming PC requires careful consideration of the performance you desire. Even on a limited budget, it’s possible to create a powerful machine capable of delivering solid gaming experiences. Whether you opt for budget-friendly components or top-of-the-line hardware, building your PC from scratch ensures you get exactly what you need.
However, if you’re aiming for peak gaming performance with cutting-edge technology, be prepared to invest more. High-end components and accessories come at a premium but can significantly enhance your gaming experience. Regardless of your choice, building a gaming PC from scratch allows you to tailor every aspect to your preferences and requirements.
How to build a gaming PC on a budget
When building a gaming PC on a budget, ensure it meets the minimum system requirements of your desired games. However, if you have some flexibility in your budget, consider future-proofing your build by accounting for upcoming game requirements. It’s better to invest a bit more upfront than to face frustration later due to outdated components.
Running out of space or performance shortly after completing your build can be more frustrating than facing challenges in your favorite games. So, plan and allocate your budget wisely to avoid potential issues down the line.
Gaming PC parts
Building a gaming PC requires essential hardware components that serve as the engine of your rig. These components determine the overall performance, including speed, responsiveness, and frame rates. Accessories and software play a complementary role but rely on the capabilities of the hardware for optimal performance.
To create a gaming PC that meets your needs, focus on selecting the right hardware components. From the CPU and GPU to the RAM and storage drives, each component contributes to the overall gaming experience. Prioritize components that offer a balance of power and affordability to maximize your gaming performance within your budget.
Assembly time: How to build a gaming computer
When assembling your gaming PC, ensure you have ample space to organize all the parts and tools. Take precautions against static electricity, a common cause of hardware damage, by grounding yourself frequently or using an ESD wrist strap. Keep a can of compressed air handy to remove dust and debris from components during installation.
Consult the owner’s manuals for each component to guide you through the installation process. While the assembly itself isn’t overly complicated, following detailed step-by-step instructions for each part minimizes the risk of errors. Take your time and follow the instructions closely to ensure a smooth and successful build process.
Motherboard
The motherboard stands as the cornerstone of any computer system, making it a pivotal component in your build. As the first item on your spec list, it dictates the physical dimensions and size of your PC, shaping the overall design. Moreover, the motherboard determines the compatibility of other hardware components, crucial for optimizing performance.
In addition to its foundational role, the motherboard influences the performance capabilities of your gaming rig. It determines which storage drives can be installed, specifying their size and interface type. Therefore, selecting a motherboard that aligns with your desired performance level is paramount for achieving optimal gaming experiences and efficient multitasking capabilities.
Install the CPU
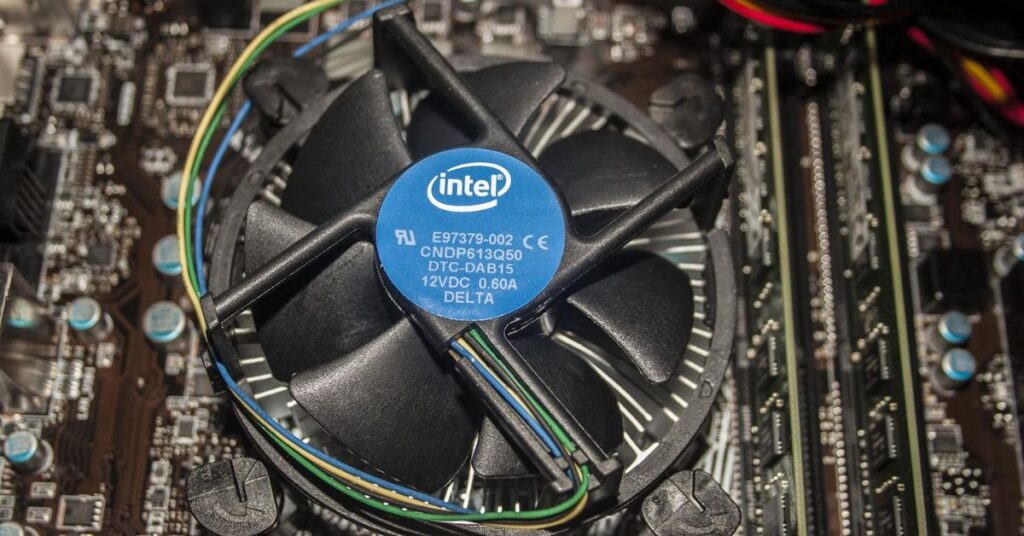
Carefully remove the CPU from its packaging, avoiding contact with the delicate gold pins underneath. Install the processor onto the motherboard socket firmly, adhering closely to the manufacturer’s guidelines. Apply a pea-sized amount of thermal paste if affixing a heatsink, then securely fasten it over the CPU using the provided screws.
The CPU, or central processing unit, serves as the cornerstone of your computer’s functionality. It orchestrates all data transactions within the system, making it a critical component for overall performance. When selecting a CPU, prioritize factors like clock speed (GHz), especially if considering overclocking for increased processing power.
Choosing the right CPU is essential for optimizing gaming performance and multitasking capabilities. Higher clock speeds can lead to improved responsiveness, particularly when running demanding applications or games. However, managing heat effectively is crucial, especially when overclocking, to avoid system instability and ensure long-term reliability.
Install the RAM
Installing RAM is a breeze in PC building. Find the memory slots on the motherboard. Handle the memory modules with care. Align the notches with the ridge in the slot. Press the module firmly until it clicks into place. Be mindful of applying adequate pressure.
RAM Explained
RAM, also known as memory, fuels your processor and GPU for optimal performance. Increased gigabytes of RAM translate to enhanced system speed, responsiveness, and frame rates. Adding more memory is a cost-effective way to boost gaming rig performance. Maxing out RAM capacity is crucial for building a gaming PC, regardless of budget constraints. Determine your RAM needs based on performance objectives.
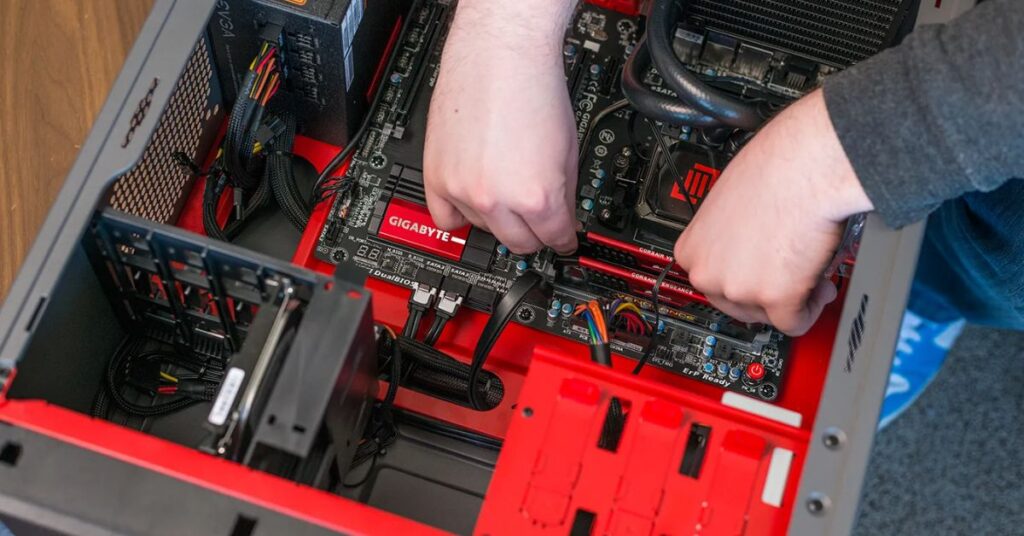
Install the motherboard in the case
To install the I/O shield, insert it into the rectangular opening of the case. Then, carefully slide the motherboard into the case until the ports align with the shield. Secure the motherboard using the provided screws, ensuring not to overtighten them to avoid damaging the motherboard.
Case explained
Begin by installing the I/O shield into the rectangular opening of the case. Then, carefully slide the motherboard into the case until its ports align with the openings on the I/O shield. Once in place, secure the motherboard using the provided screws, ensuring they are snug but not overtightened to avoid damaging the motherboard.
Install the GPU
To install your GPU, slide it into its designated slot on the motherboard. Apply gentle pressure until you hear a click, indicating it’s properly seated. Then, secure the GPU in place using any included screws to ensure it remains stable during operation.
Video card/Graphics card/Graphics processing unit (GPU) explained
When aiming for higher computer output, ensure your system is adequately equipped. Enhanced graphics demand additional memory for processing intricate details. More RAM translates to increased graphical performance.
GPUs vary widely in price, potentially impacting your budget significantly. Invest in a high-priced GPU for razor-sharp visuals, but ensure your system supports it with a powerful processor and ample RAM.
Install the SSD
The installation process for an SSD varies based on its form factor. For a 2.5-inch, mSATA, or M.2 SSD, begin by attaching the drive to the storage interface. Then, insert it into the drive bay, if applicable, ensuring a secure fit.
Storage drives explained
When it comes to gaming PC storage, you have two main options: a hard disk drive (HDD) or a solid-state drive (SSD). HDDs utilize spinning platters and mechanical parts for data access. While HDDs typically offer greater storage capacity in gigabytes (GB), SSD capacities are expanding due to advancements in NAND flash technology.
SSDs employ electrical cells for data transmission, leading to faster boot-up times and improved file transfer speeds. SSDs can also be up to 90% more energy-efficient than HDDs. Their lack of moving parts enhances durability, making SSDs a reliable choice for gaming PCs.
Install the fans
To install your cooling fan, use any provided mounting brackets to secure it in place. For CPU fans, ensure there’s consistent downward pressure as the cam lever engages with the mounting bracket. Finally, connect the fans to the motherboard to ensure proper functionality.
Cooling explained
When constructing a gaming PC, airflow is crucial for optimal performance. Higher power usage can elevate internal temperatures, necessitating the expulsion of hot air. Many gamers incorporate two case fans: one for intake, the other for exhaust. Additionally, cooling options include CPU and memory fans, or even water cooling kits, to maintain system temperatures.
Install the power supply
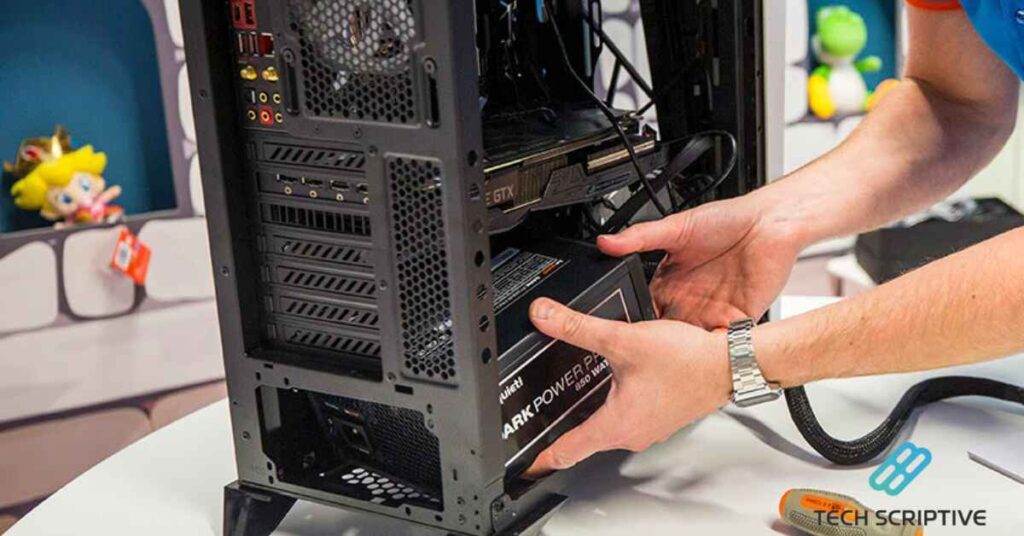
Begin by removing the power supply retaining bracket. Next, attach the bracket securely to the power supply unit. Then, carefully slide the power supply into the case until it is flush with the case, ensuring a snug fit.
Power supply explained
When selecting a power supply, prioritize its ability to meet your rig’s energy requirements. This is crucial, particularly for high-performance setups, where a robust power supply is essential. Keep in mind that higher voltages generate increased heat, necessitating potential adjustments to system cooling or internal airflow for optimal performance.
Read this also: Exploring Ssoap2day: Is It Worth The Risk?
Attach the appropriate cables
Refer to the manufacturer’s instructions and attach all necessary cables, including USB, audio, GPU, CPU, drives, power supply, heatsink, and cooling cables. Ensure proper connections are made according to the guidelines provided to guarantee optimal functionality.
Plug in your peripherals
Connect your mouse, keyboard, monitor, and headset (if available) to their respective ports on the PC. Ensure each peripheral is securely plugged in to enable seamless operation.
Peripherals explained
Invest in a monitor capable of rendering high-quality visuals if you’ve acquired a top-tier graphics card. Opt for gaming peripherals like a mouse, keyboard, and headset to enhance gaming precision and comfort with their ergonomic designs. The integration of these peripherals is a key reason why many gamers favor PC gaming for an immersive experience.
Flip the switch!
Once your system is fully assembled, press the power button to initiate startup. Ideally, all components should activate smoothly, indicating successful assembly and readiness for use.
Time to boot up!
A screen prompting access to the system BIOS should appear after successful initialization. If you possess an operating system (OS) installation disc or flash drive, insert it into the designated drive and proceed to boot up the system. Follow the on-screen instructions to install the OS and complete the setup process.
Operating system explained
While Microsoft® Windows® stands as the preferred OS among gamers, you’re not limited to this choice alone. Windows 10 offers excellent gaming capabilities, yet alternatives exist if your game doesn’t require a Windows platform. Consider your broader computing needs when selecting an OS, as your computer will likely serve various everyday tasks beyond gaming.
Conclusion
Building a gaming PC is a rewarding endeavor that allows enthusiasts to create a customized gaming experience. With careful research and planning, selecting the right components tailored to individual preferences is key to achieving optimal performance. From powerful processors to high-end graphics cards, each component plays a crucial role in maximizing gaming performance and ensuring a seamless gaming experience.
Attention to detail during the assembly process is paramount to avoid potential issues and optimize the functionality of the gaming rig. Following step-by-step instructions for installing components such as the CPU, RAM, motherboard, and GPU helps ensure a smooth assembly process. Additionally, proper cable management and airflow considerations contribute to the longevity and performance of the gaming PC, allowing gamers to immerse themselves in their favorite titles with confidence.

Dennis, a seasoned tech professional with 5 years of expertise in the field. With a passion for innovation, he’s dedicated to delivering cutting-edge solutions through our website.